

2024 Season
Caroline Steinmetz
Starting seeds indoors is a very exciting+rewarding experience. You get to watch such a small seed germinate into a healthy sapling in just a few weeks! There’s a lot of information out there regarding seed starting techniques so I fully recommend reading a few different articles before embarking on your own seed journey.
Seed Starting Supplies
- Seed Starting Tray with Humidity Dome and Base Tray
- Seed Starting Mix
- Soil Mixing Container
- Small Container for Seeds
- Tweezer’s
- Vermiculite
- Heat Mat
- Grow Lights hung on Chains directly above the Humidity Dome
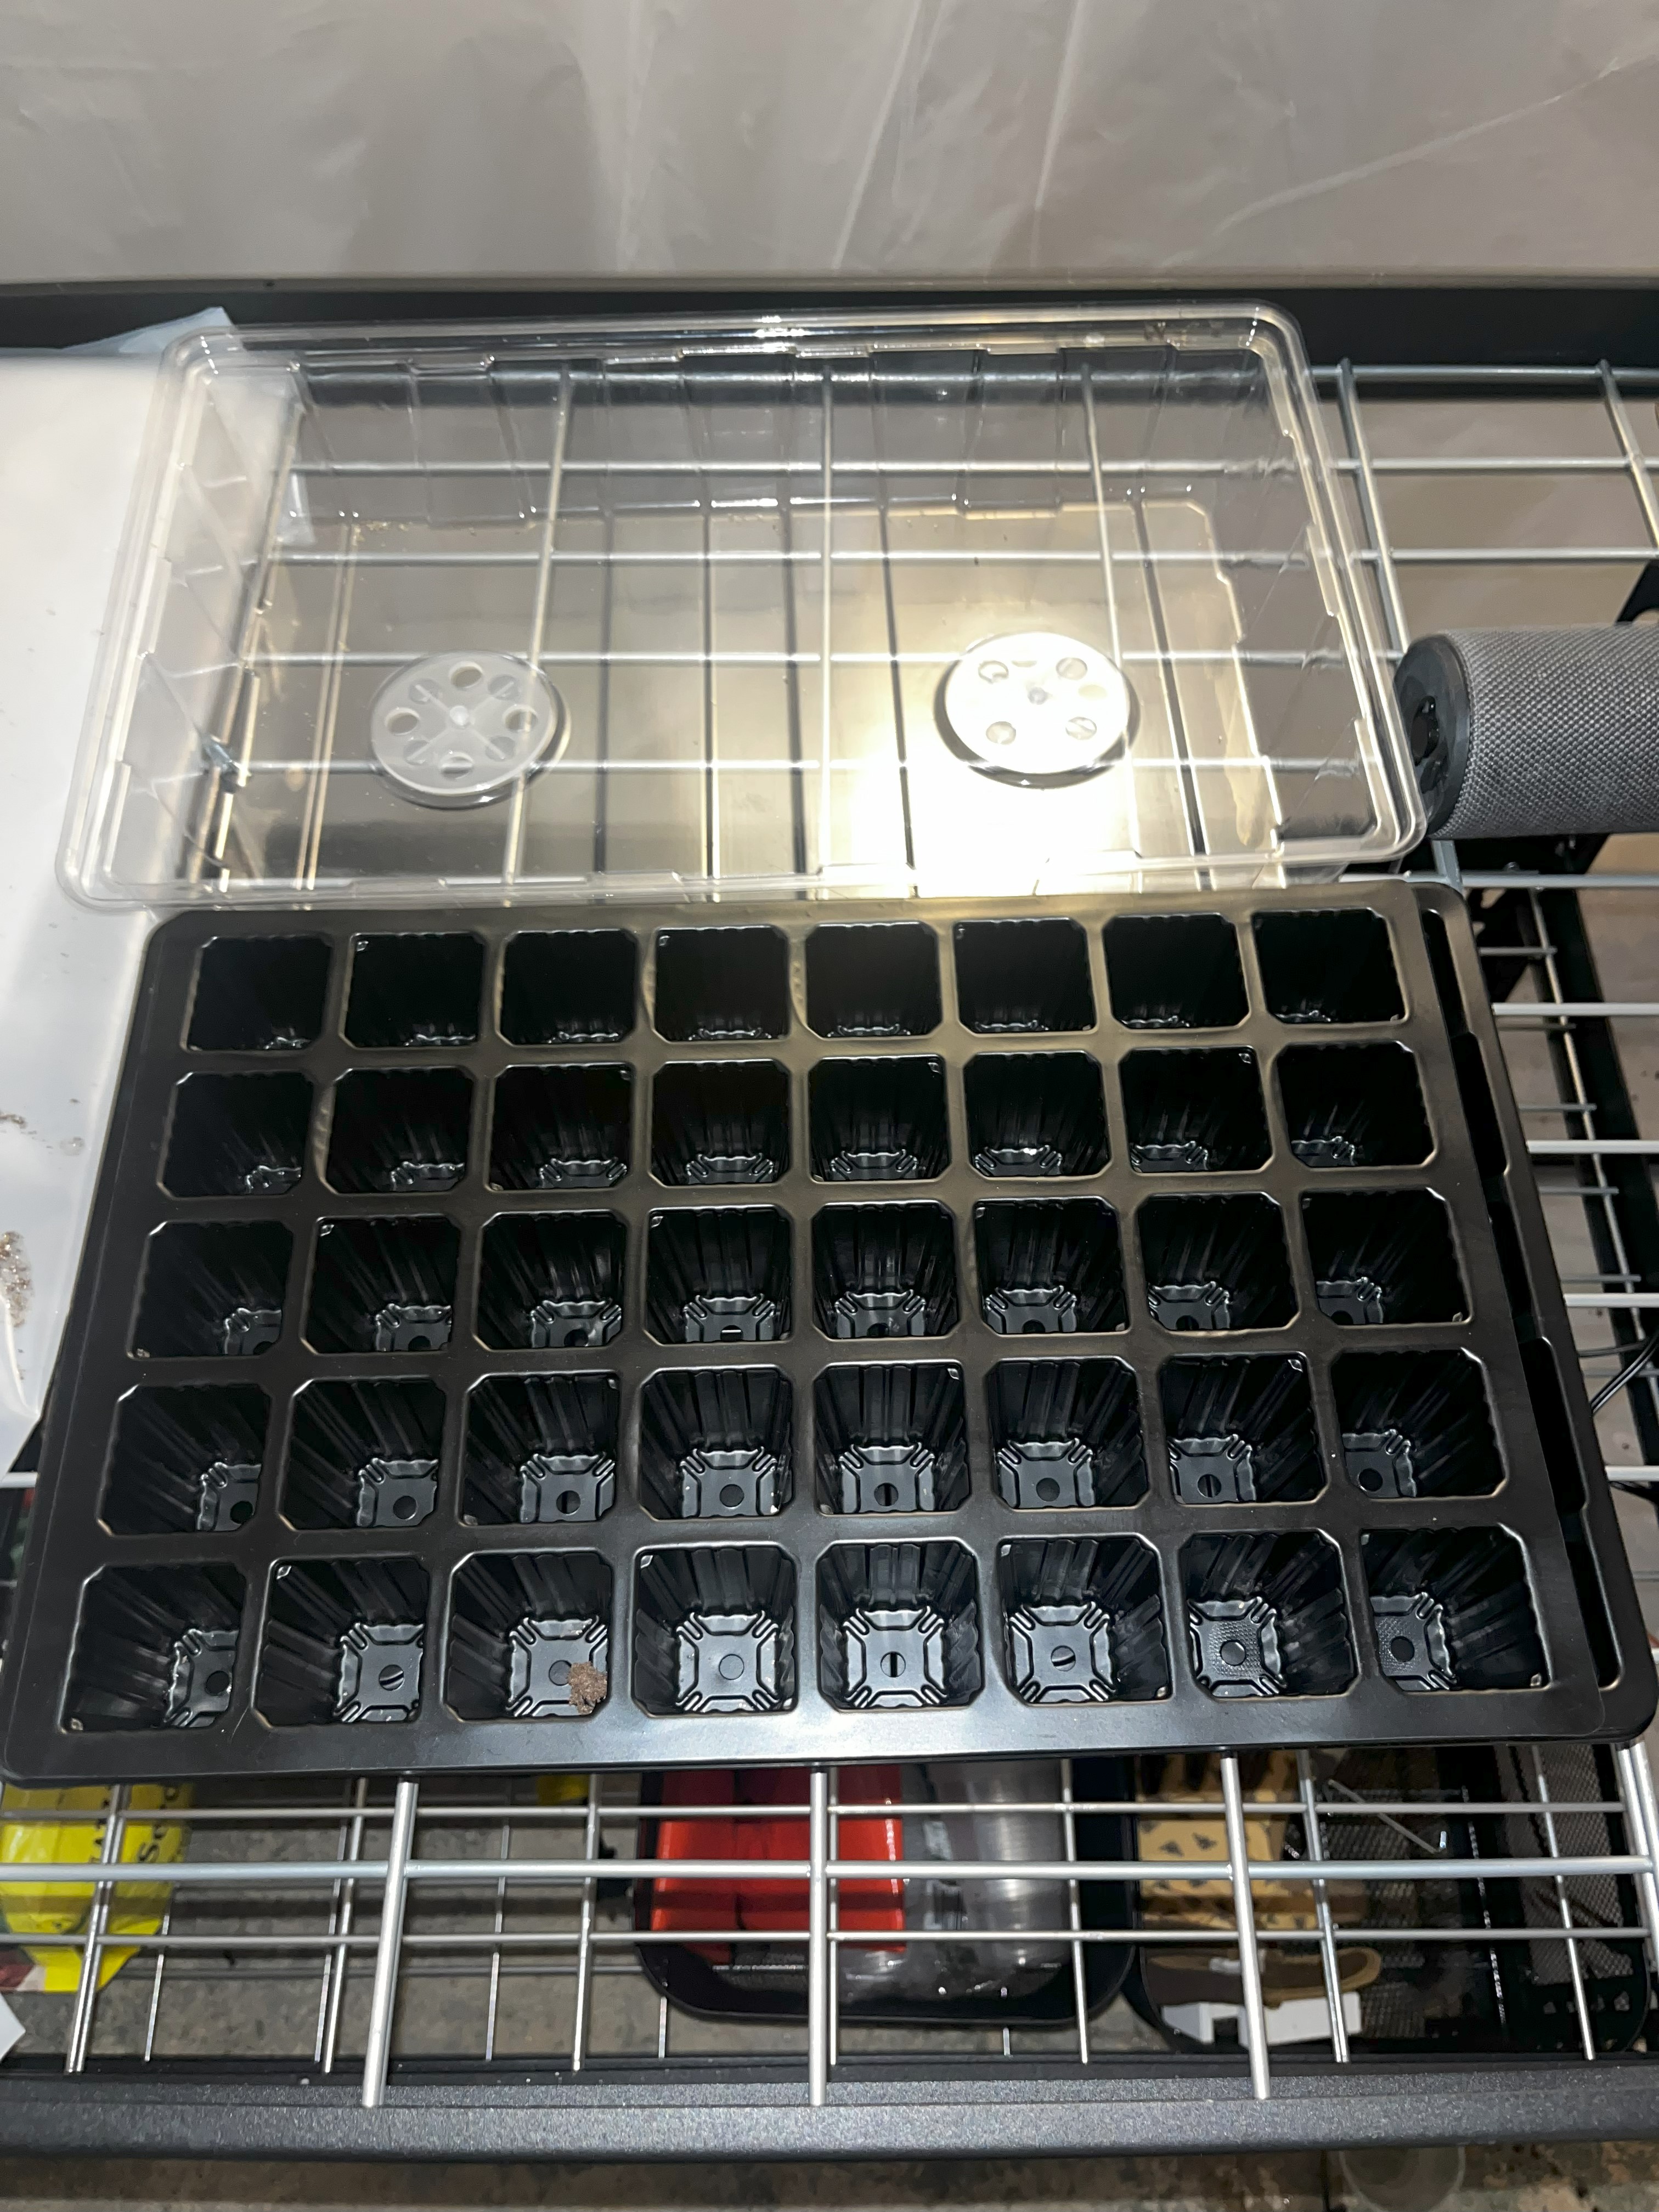
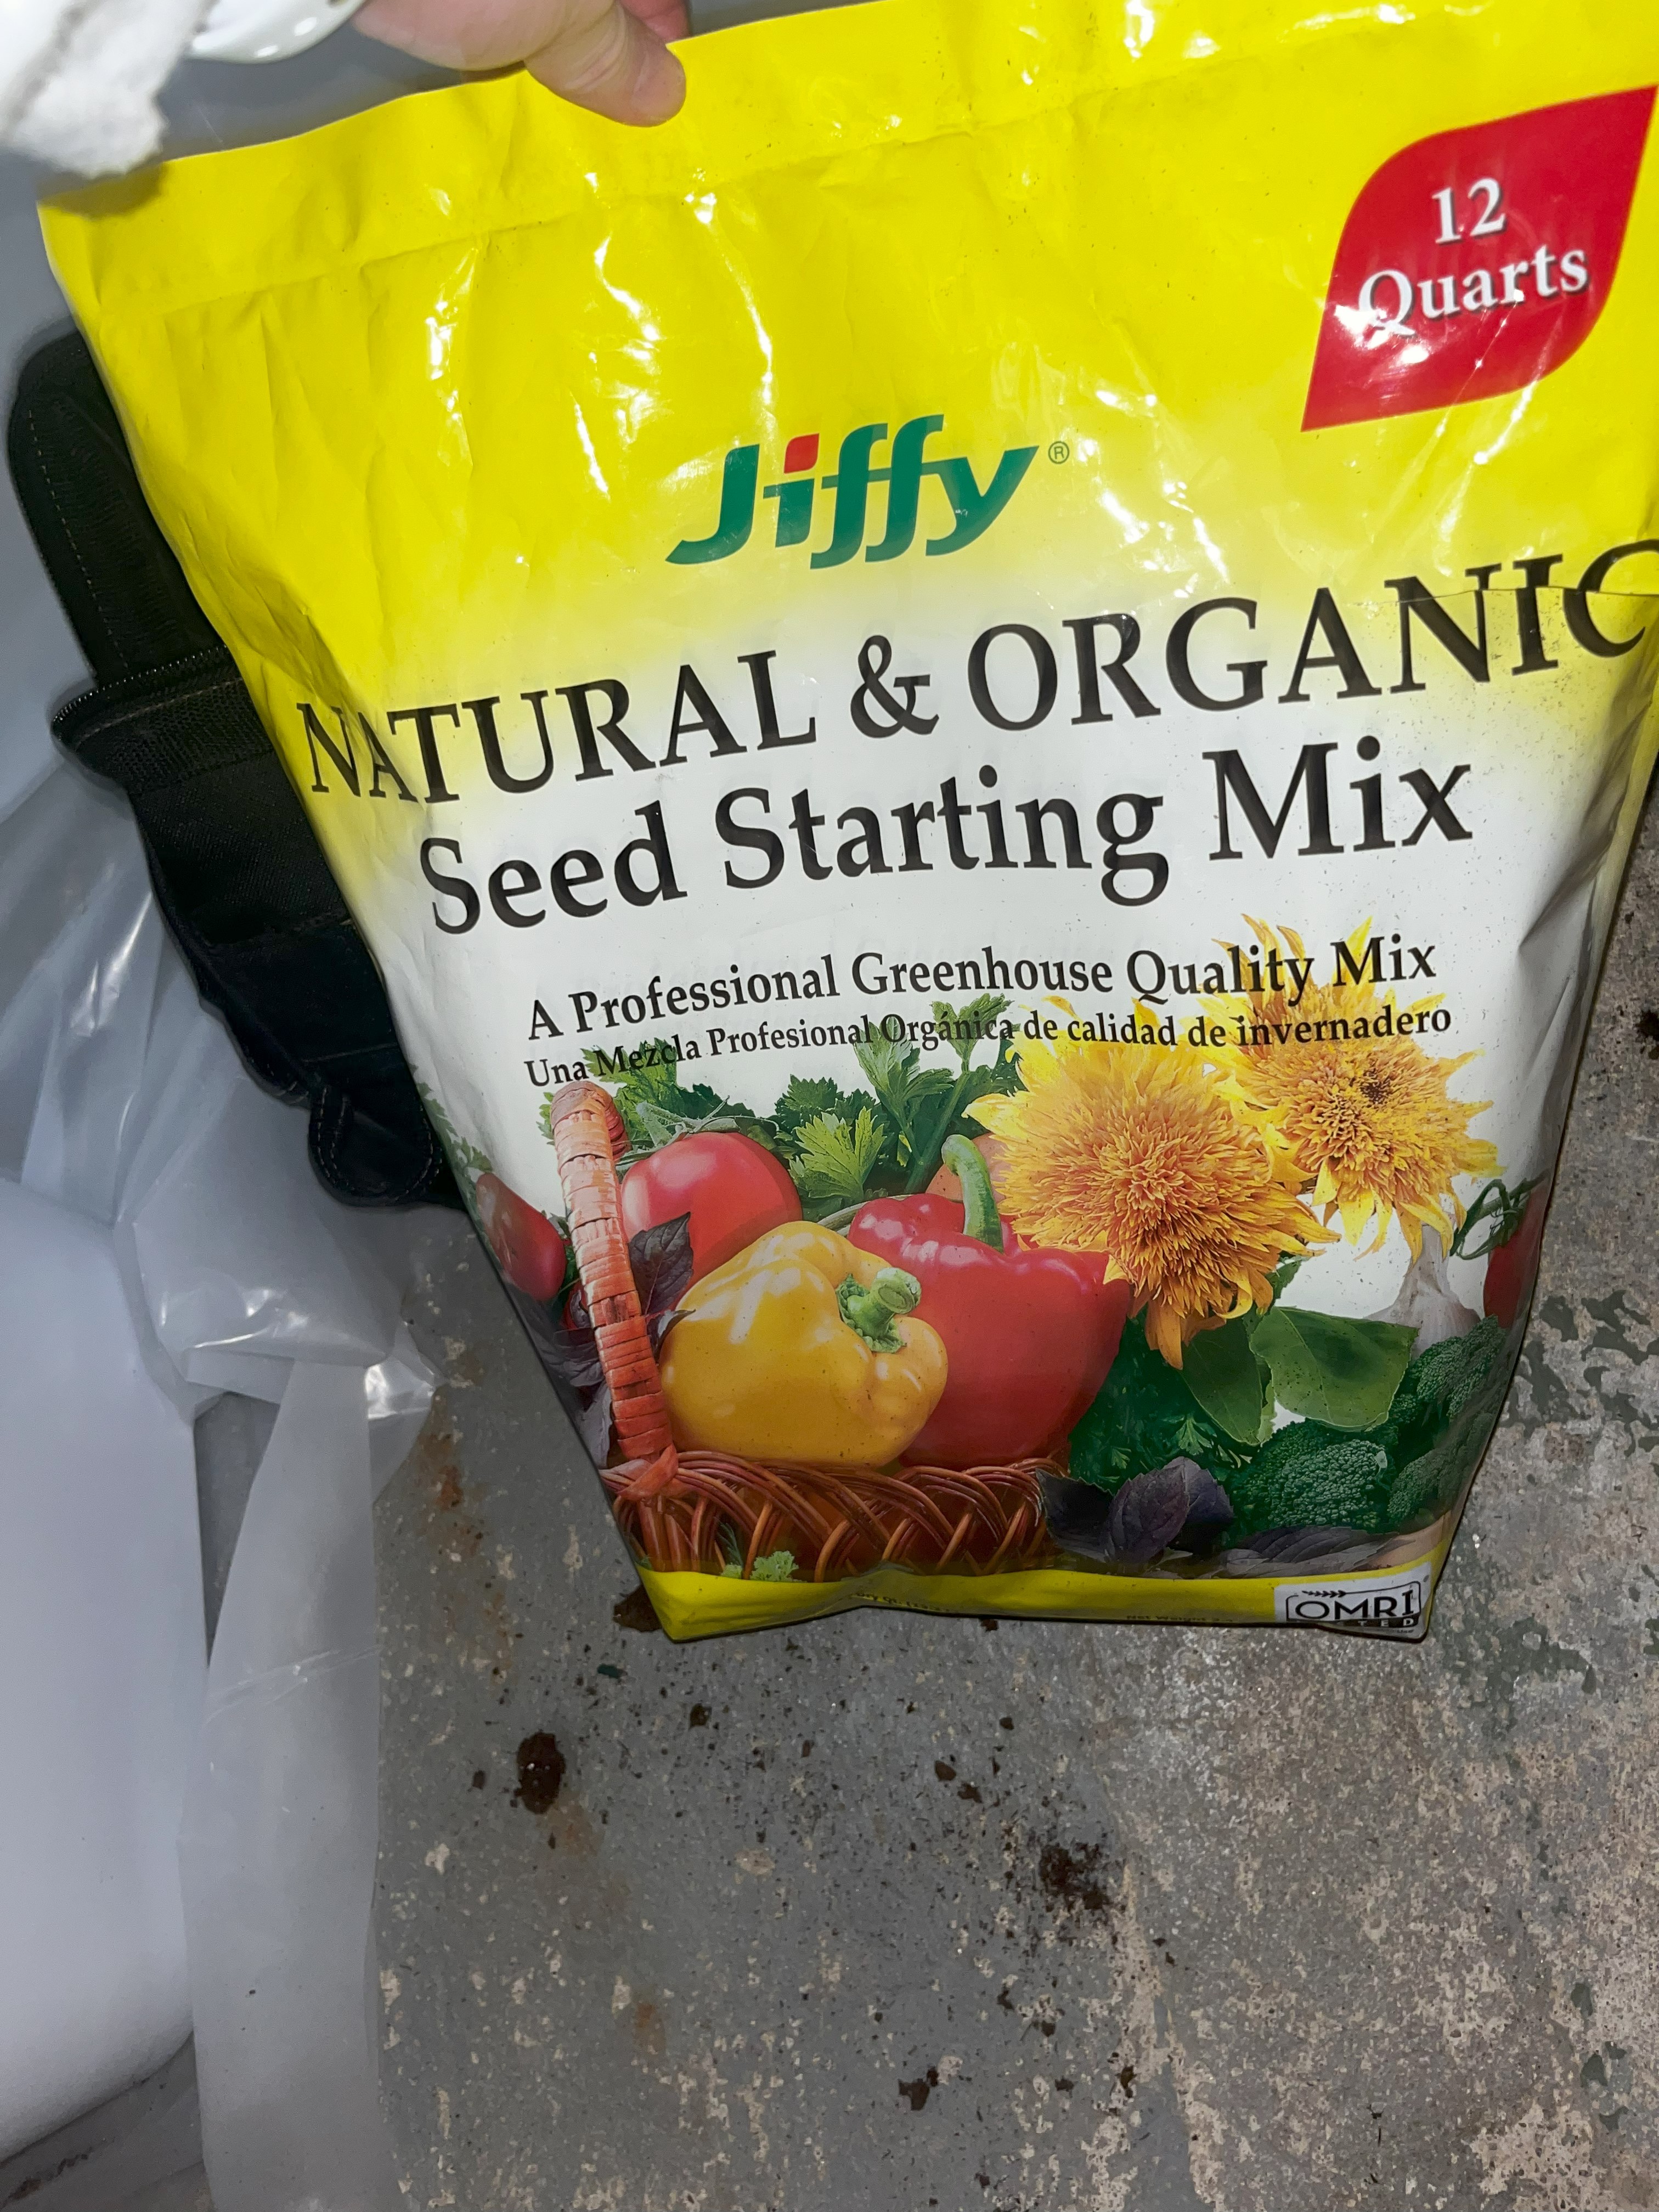
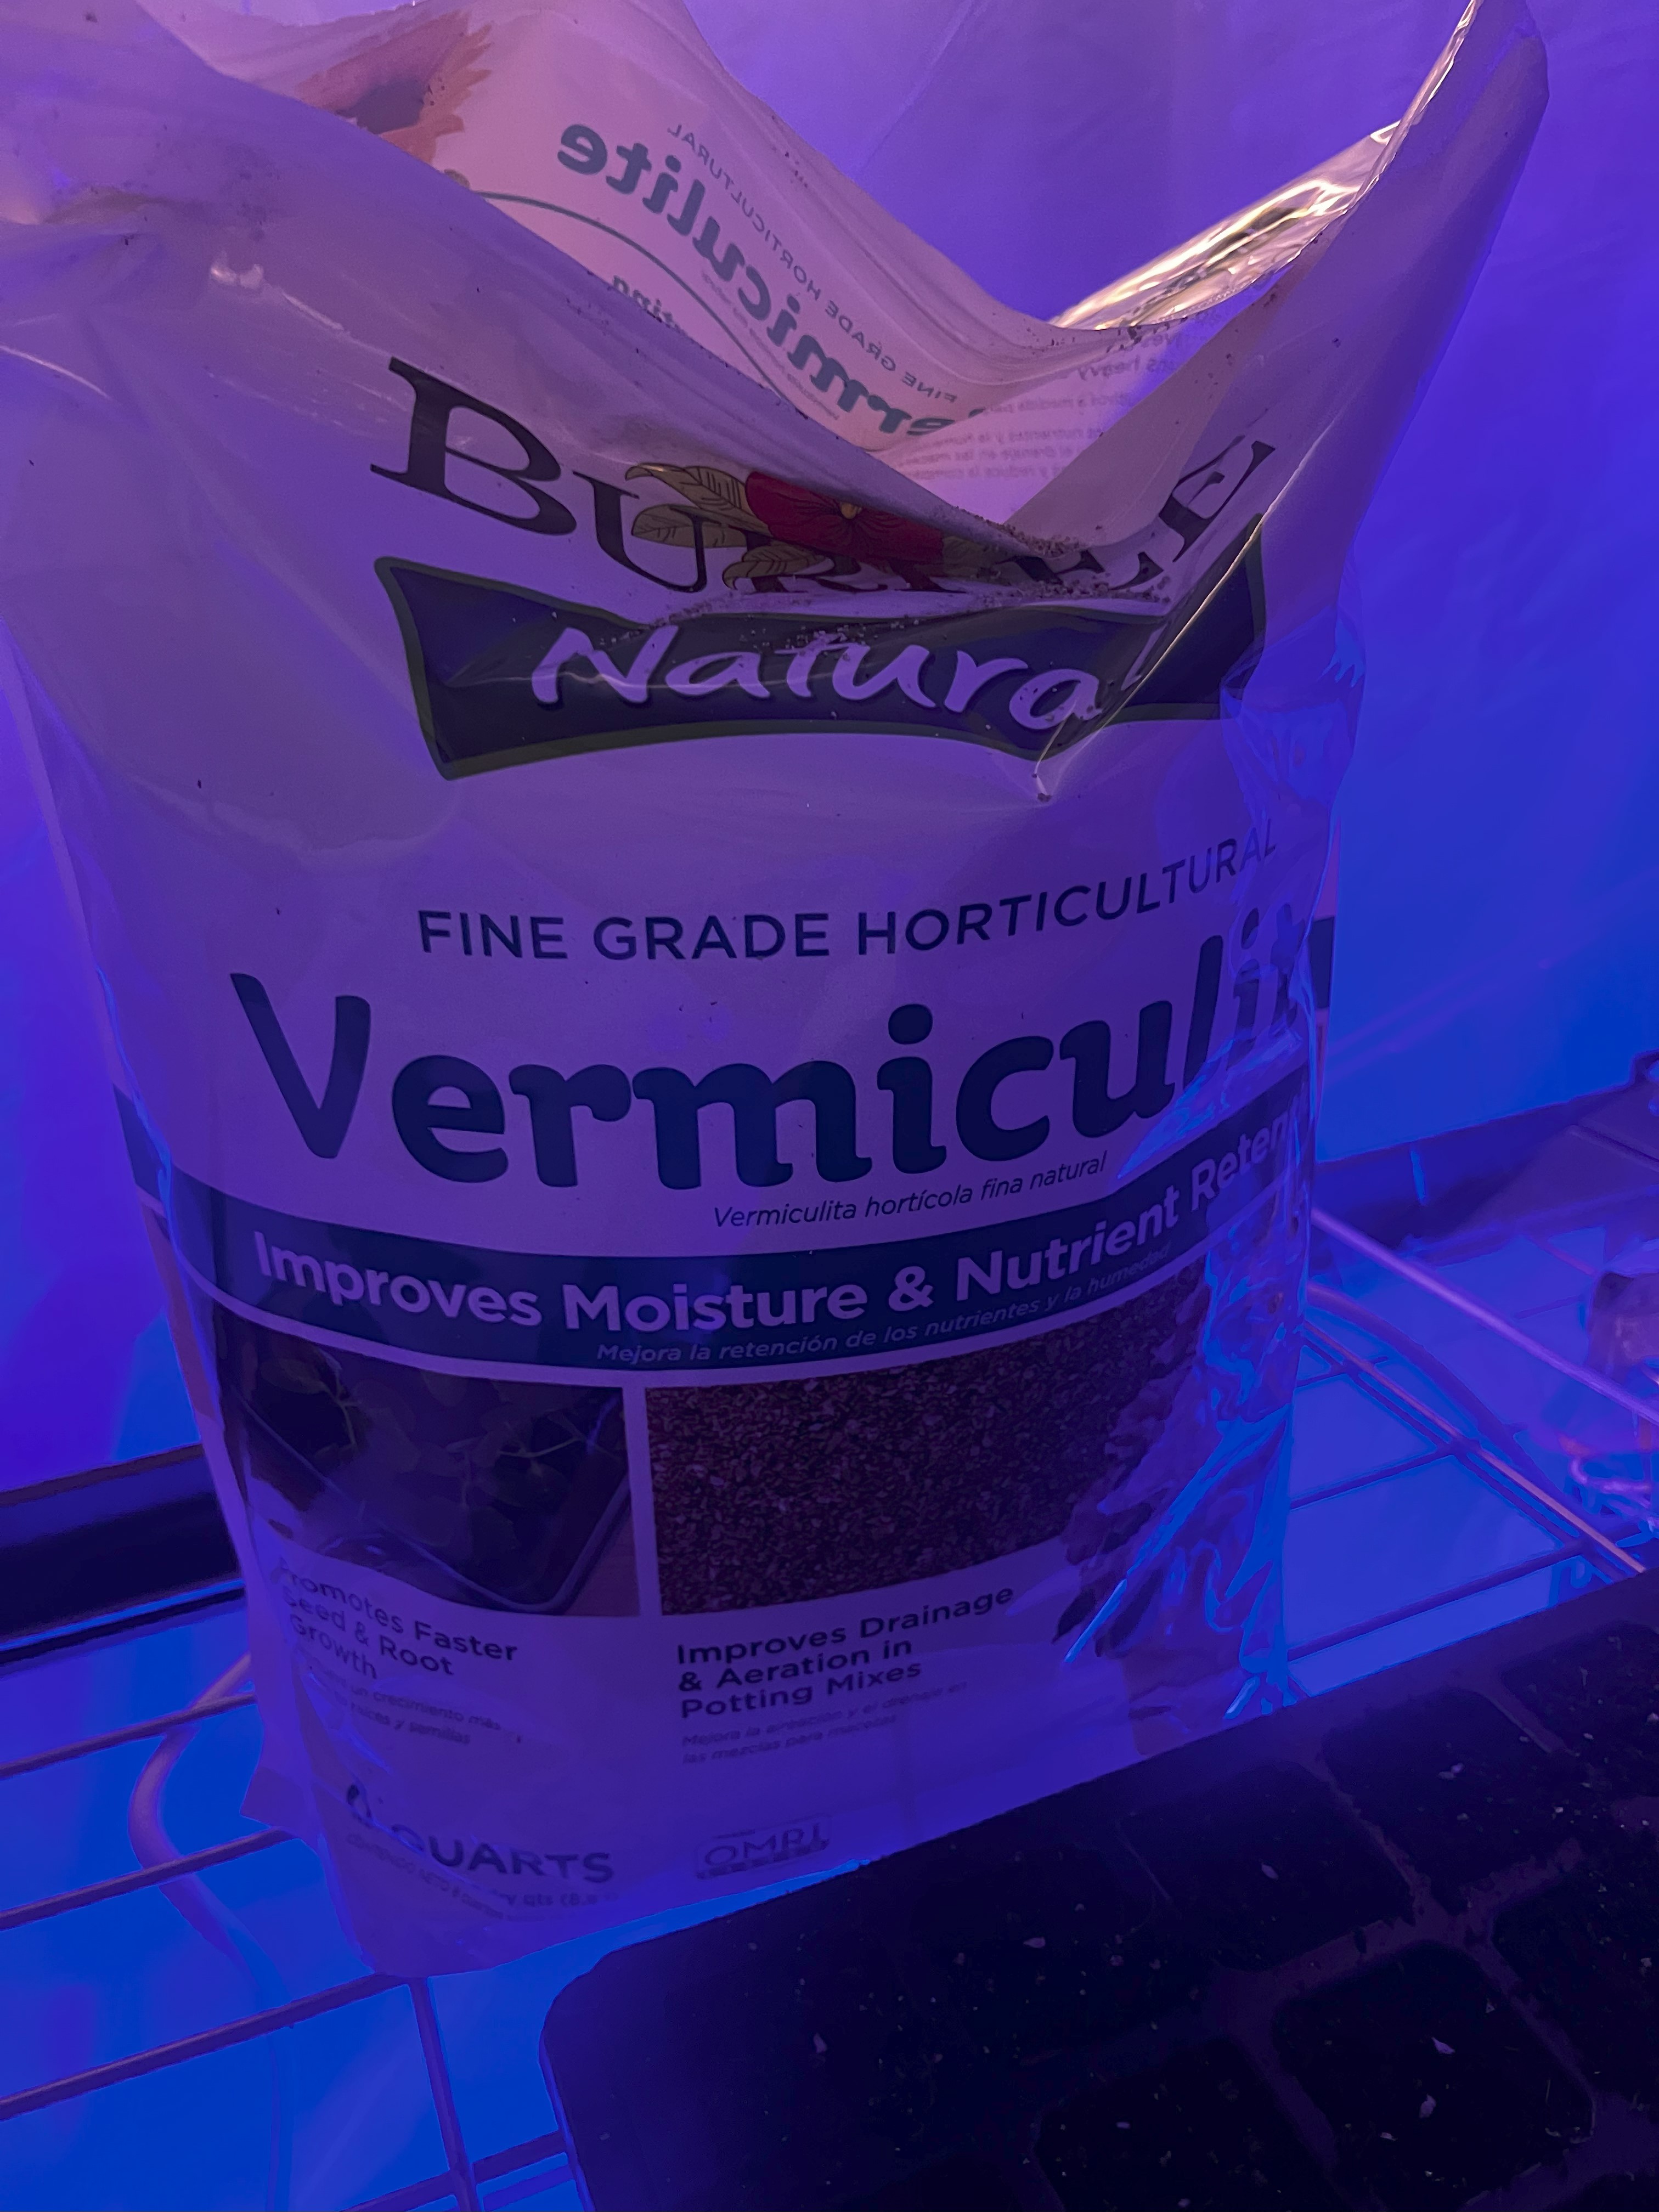
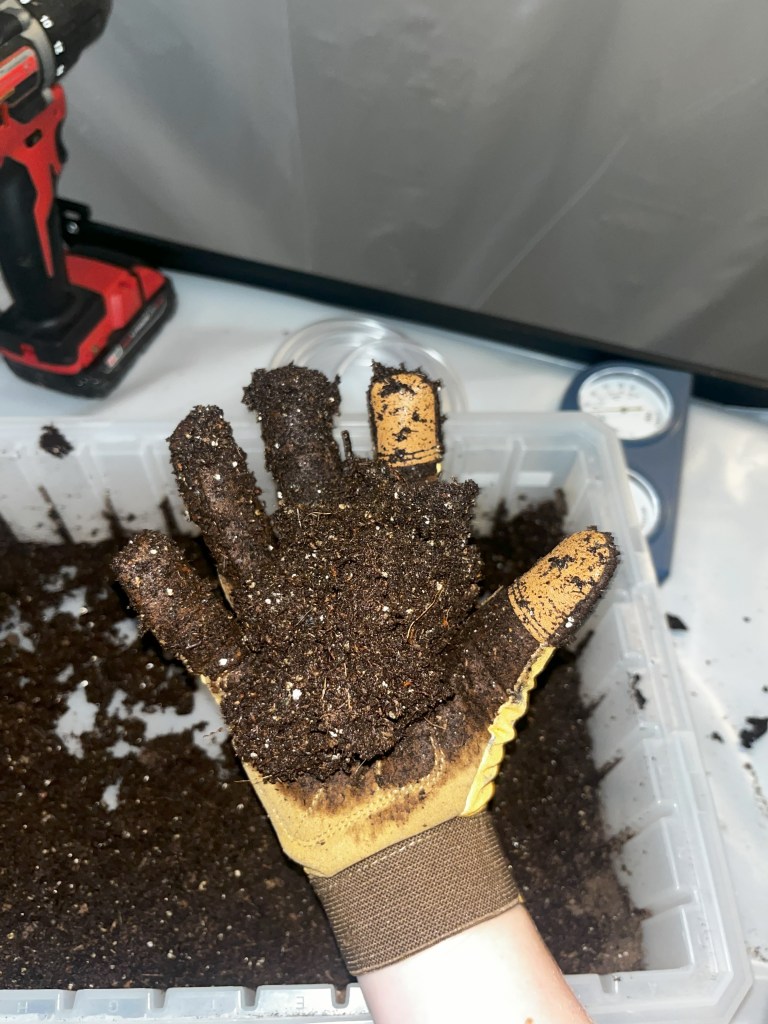
My preferred seed starting materials.
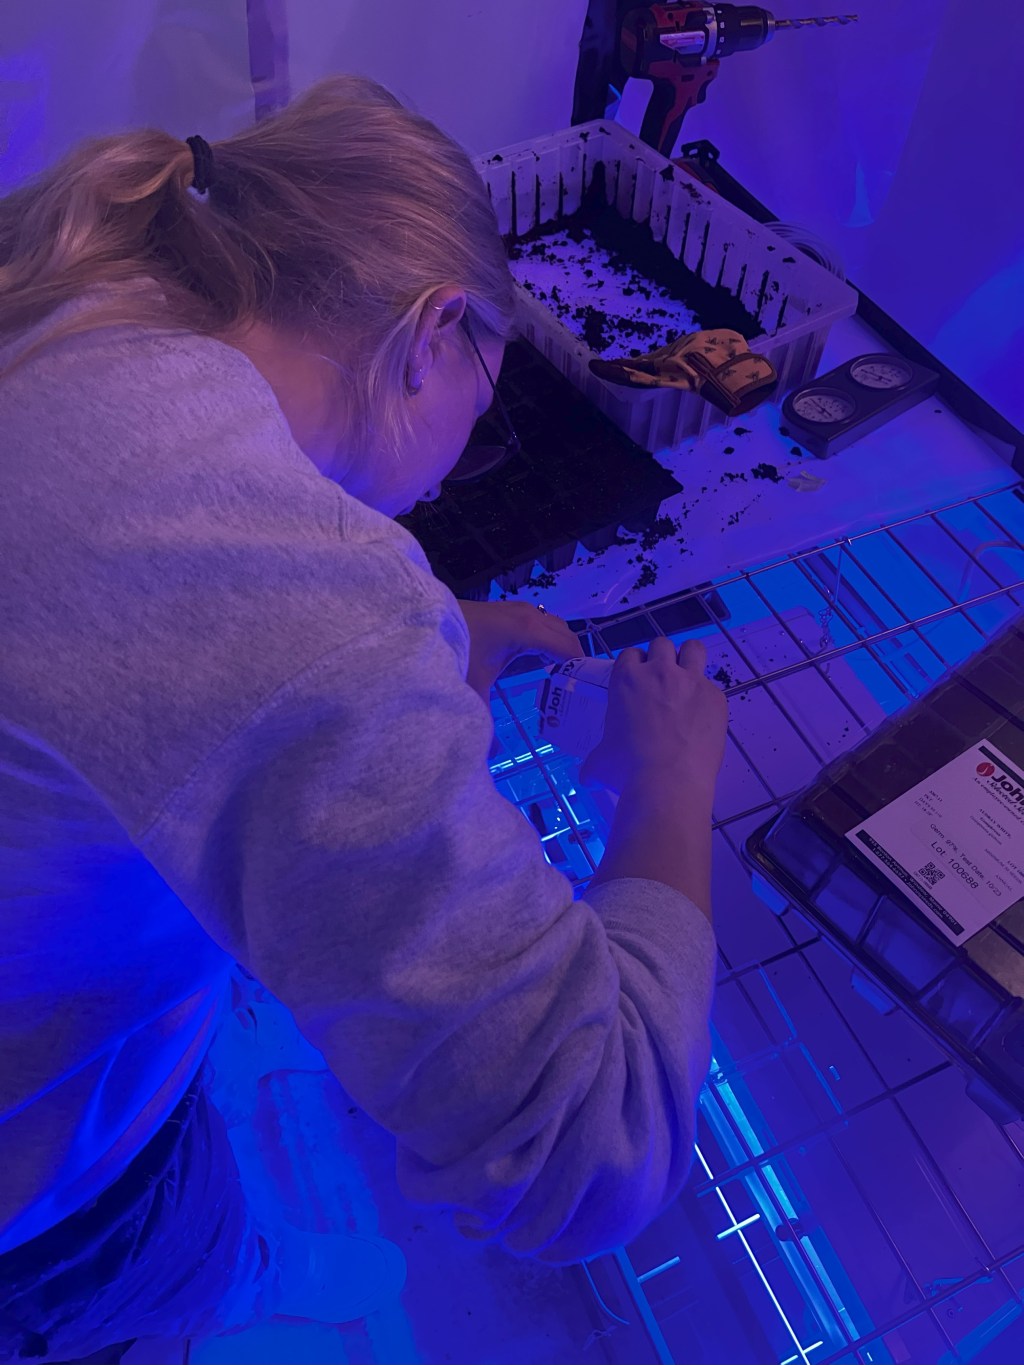
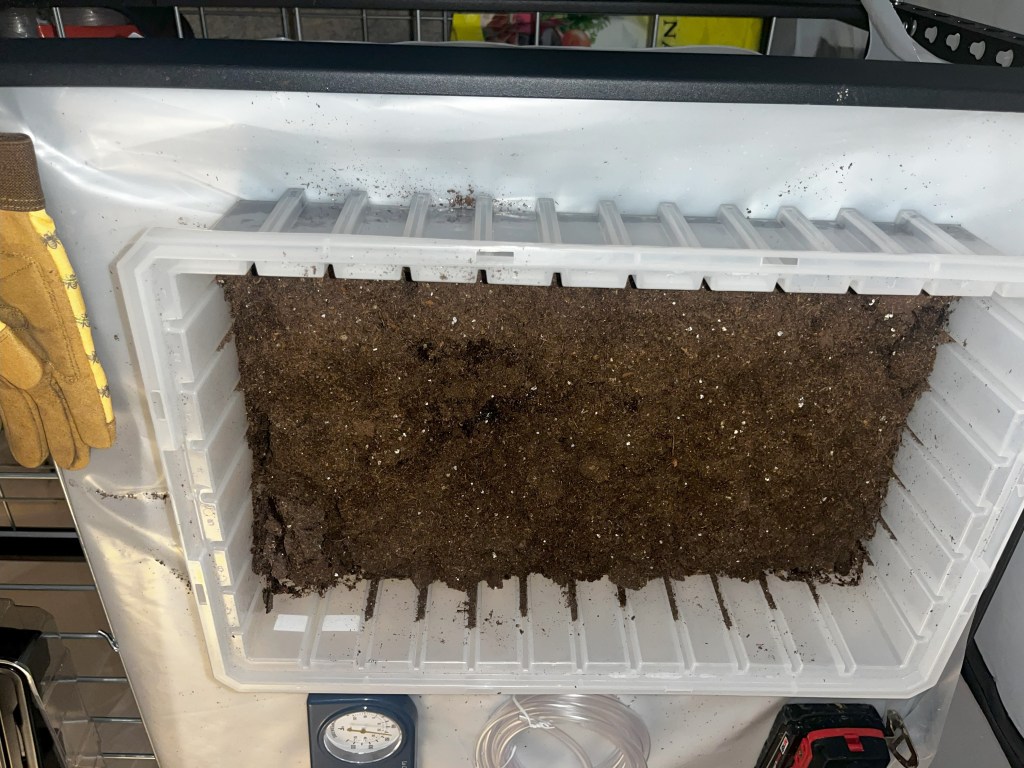
I start my seeds by first mixing together my seed starting mix and a few cups of water. I like to add enough water in to form “balls” with the soil, but not so much that the soil is soaked. I then fill my seed trays with the soil mixture. Depending on the seed I’m starting, I’ll place a small thumbprint hole in the center of the seed cell, the depth recommended on the seed packet, to help bury the seed and promote germination.
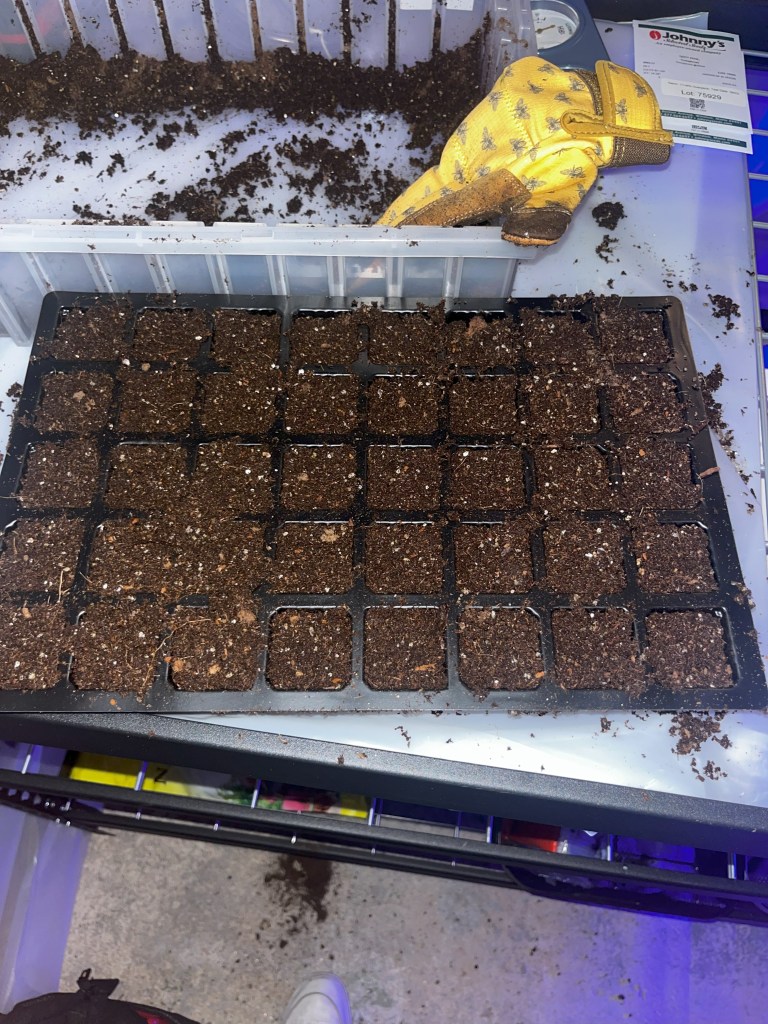
After filling the seed tray with the soil mixture, I’ll pour my seed packet into a small container and grab my tweezers. Depending on the flower type, I’ll place 1-2 seeds in each seed cell. After every seed has been placed, I lightly cover the seeds with vermiculite to help deter any mold growth.

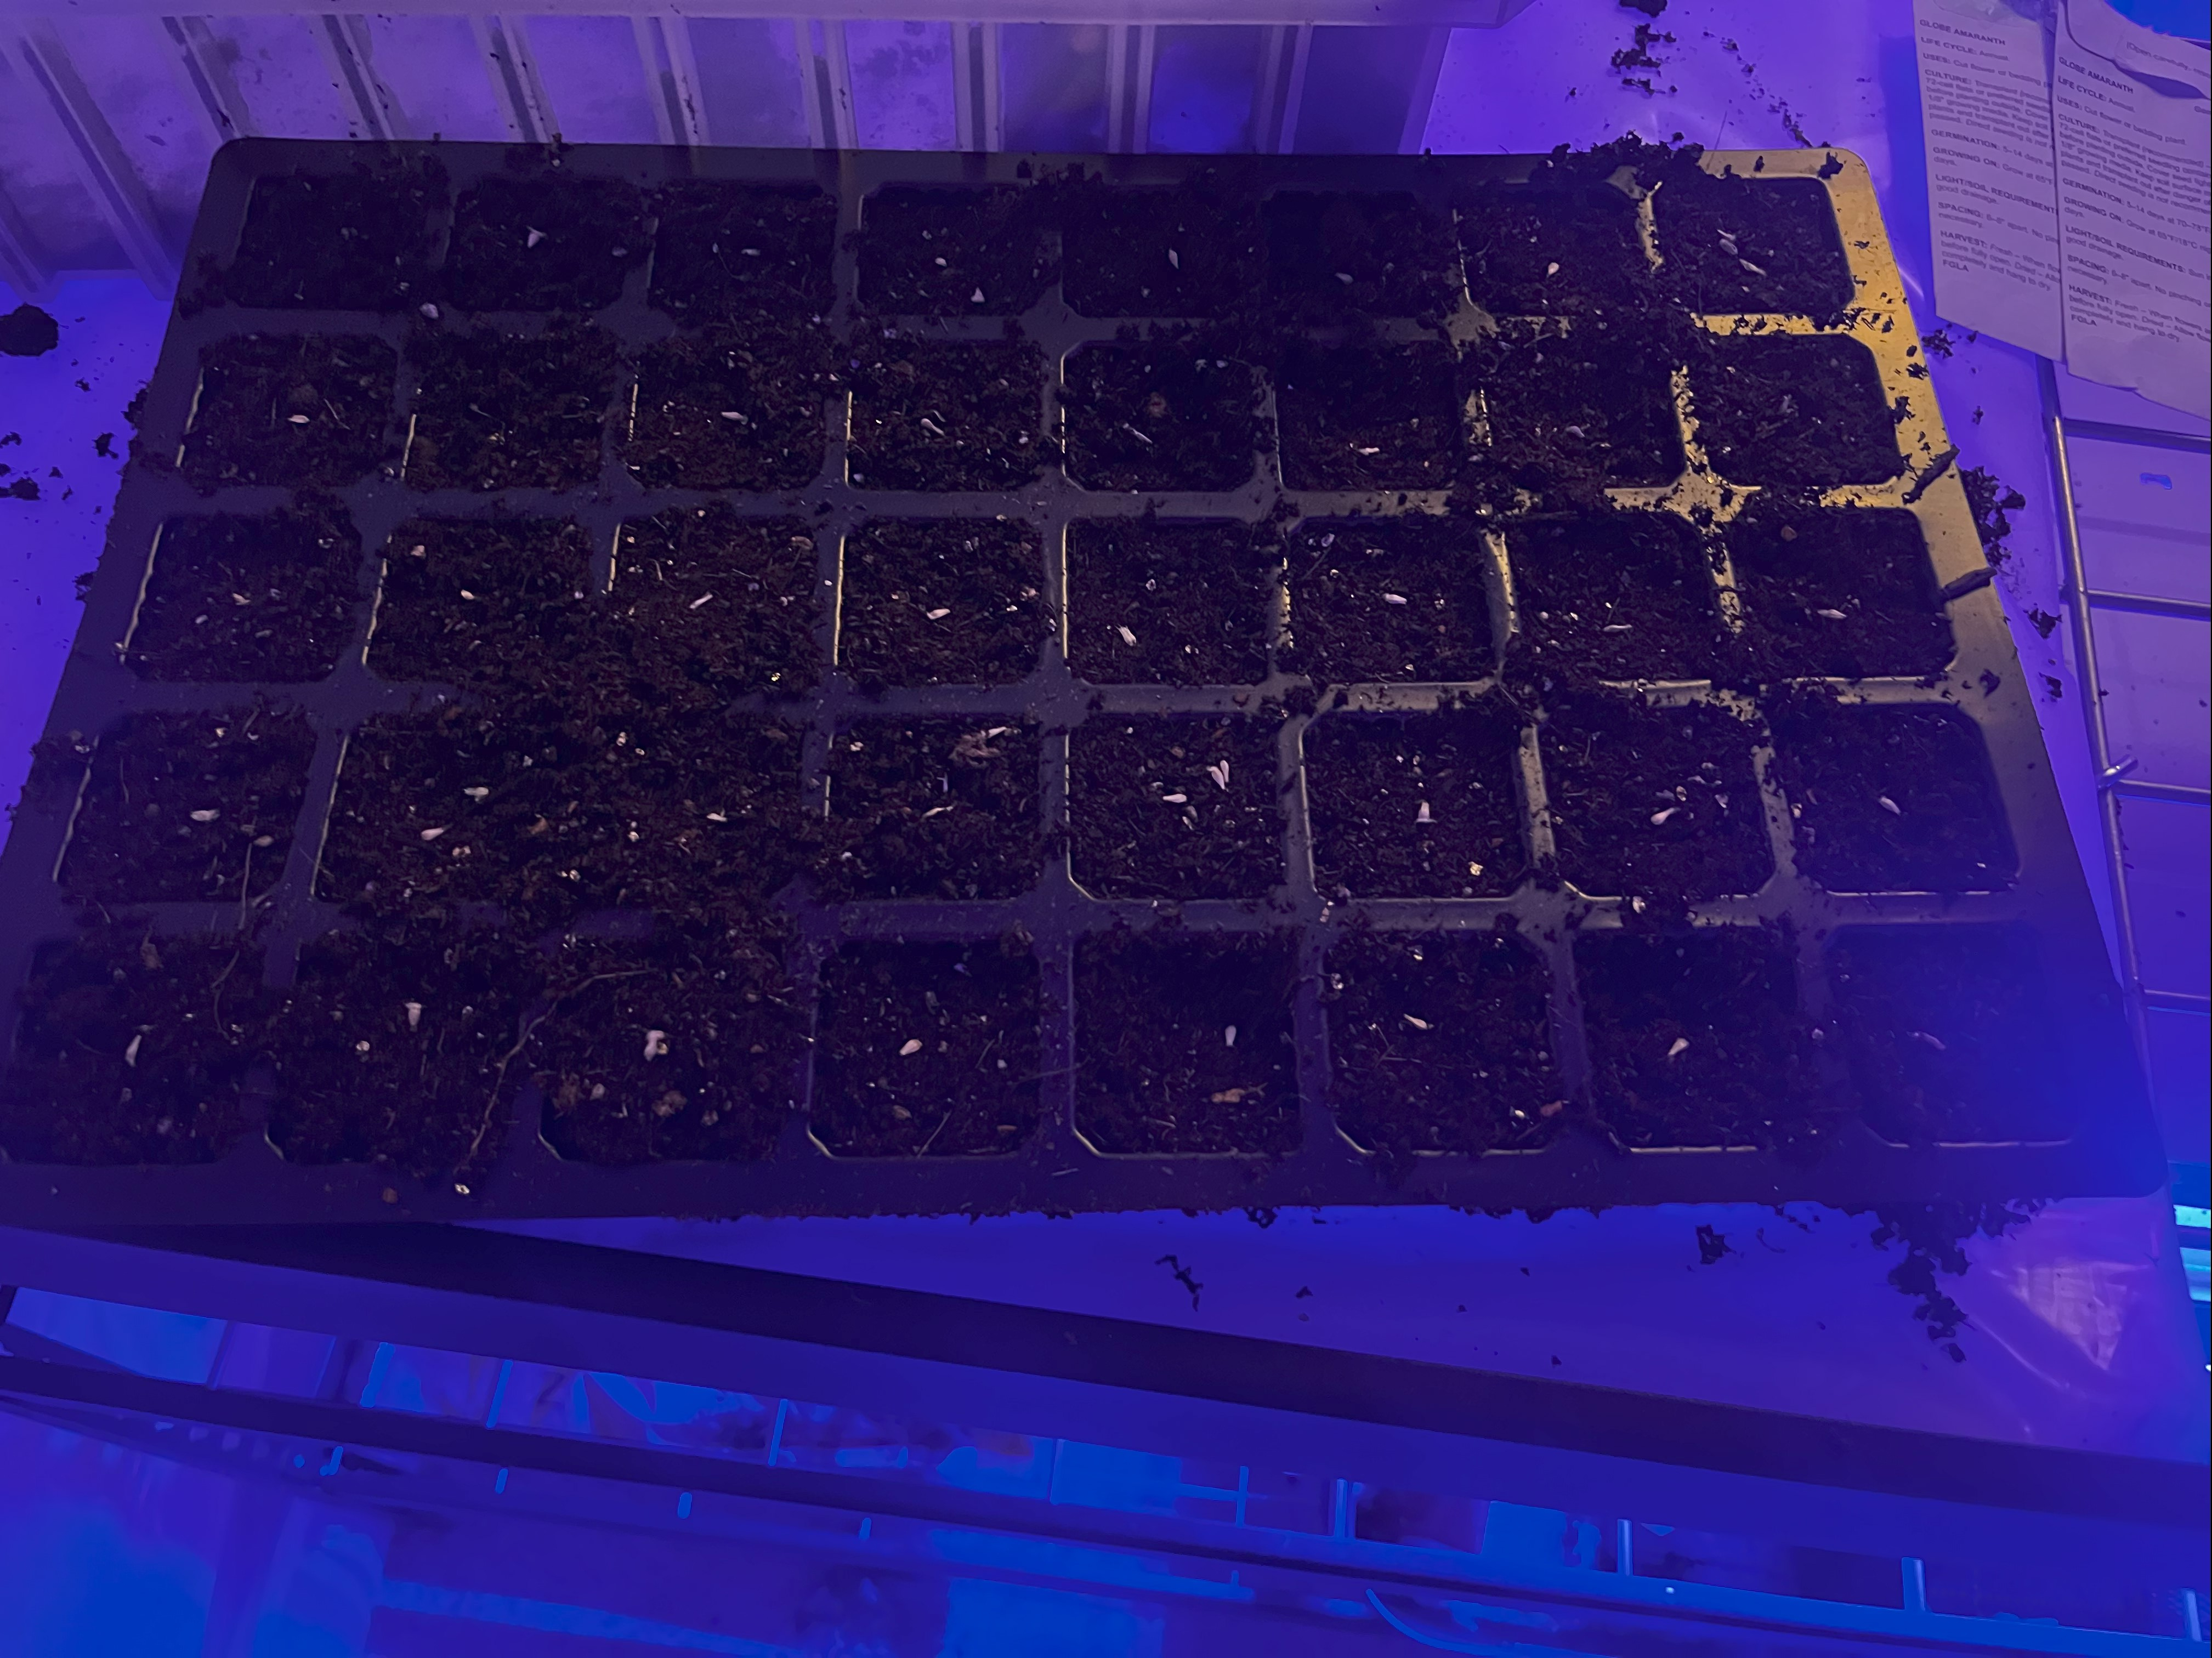

After adding vermiculite, I’ll spritz the seed tray with water from a spray bottle, ensuring to not disturb the freshly placed seeds. Finally, I’ll place the humidity dome on the seed tray and place the seeds on a heat mat underneath my grow lights.

My Germination Station!

Leave a comment