

Spring 2024
Caroline Steinmetz

This year in our cut flower garden we are growing primary annuals. These plants thrive in warm, hot, tropical climates (quite literally the reason they are annuals for my climate). Therefore, in order to help deter weeds and simultaneously heat the ground/maintain a higher temperature for my tropic loving annuals Dan and I decided to utilize weed mat.
Our Starting Supplies for Using Weed Mat
- Vevor, 100’x6′ weed mat
- Landscape stakes/staples
- propane cannister
- tape for marking plant locations
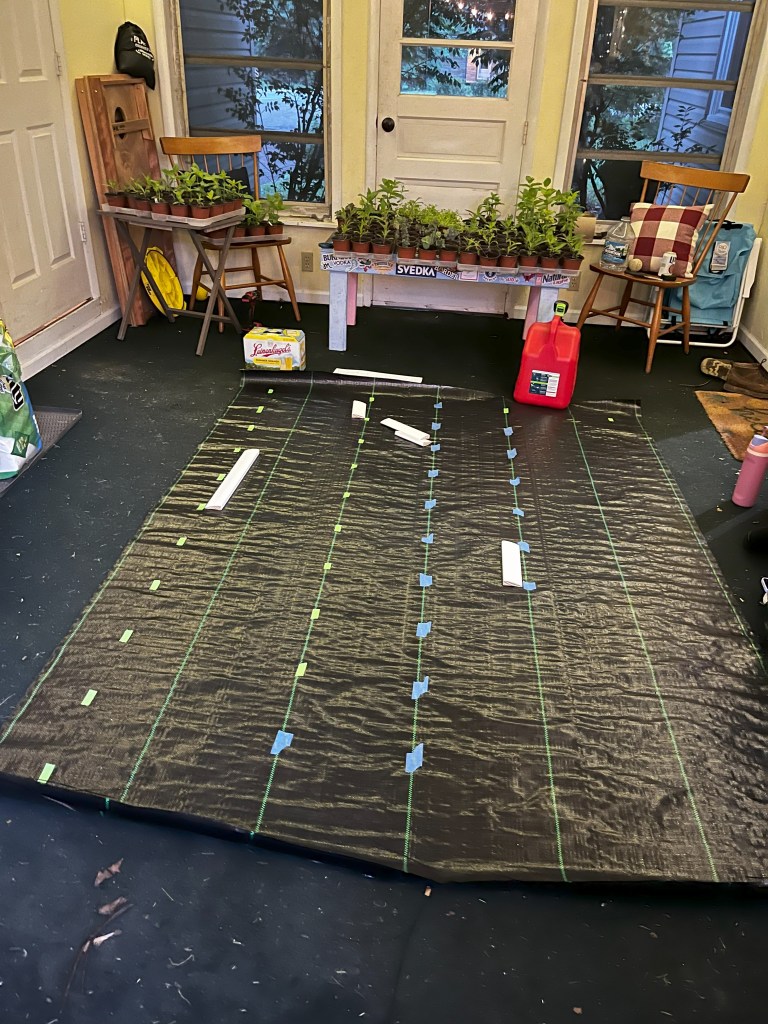
When beginning your weed mat journey, I would recommend doing a little bit of planning. What are the widths of your flower beds? There are typically a couple of widths available in terms of weed mats, I chose a 6′ width variety this year since most of my flower groups were divisible by that number (aka less mats for me to cut up!). After figuring out my mat size, I actually laid out the mats in AutoCAD with my garden layout. This allowed me to easily figure out the required size and get the mats sorted pretty efficiently.

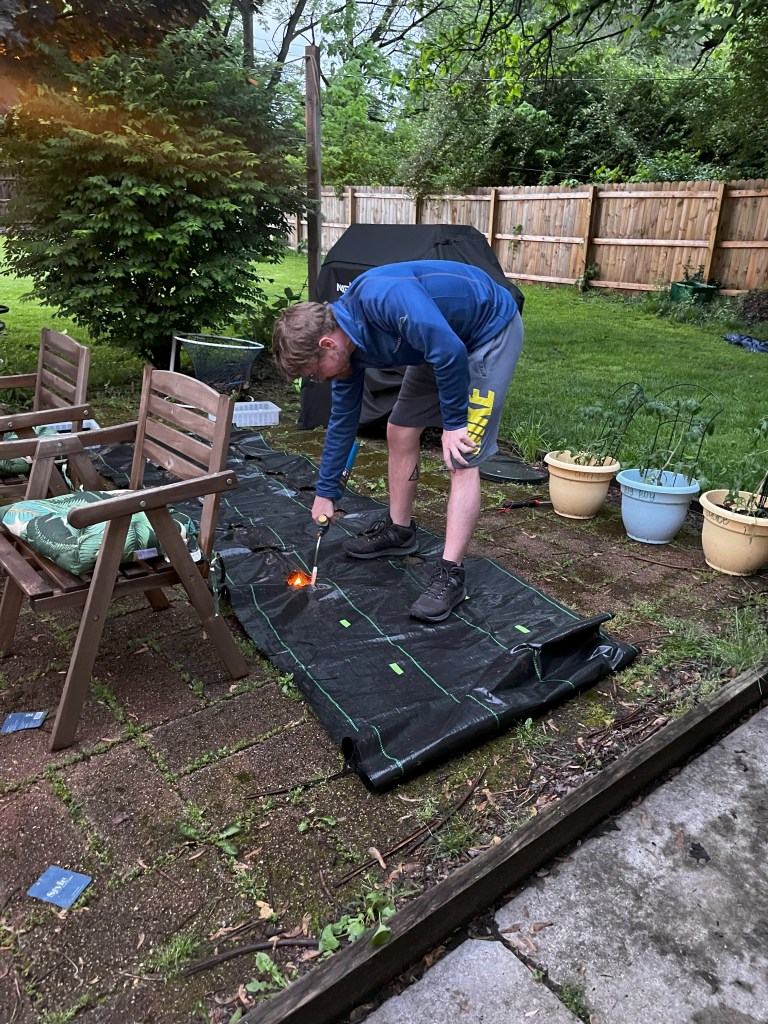
After planning out our mat sizes, I got to cutting. I was in charge of laying out the weed mat and marking each flower location with a piece of tape. Then, Dan came in with a propane cannister (and a solid shoe to stomp out the flame) and burned the holes in the weed mat for the plants.
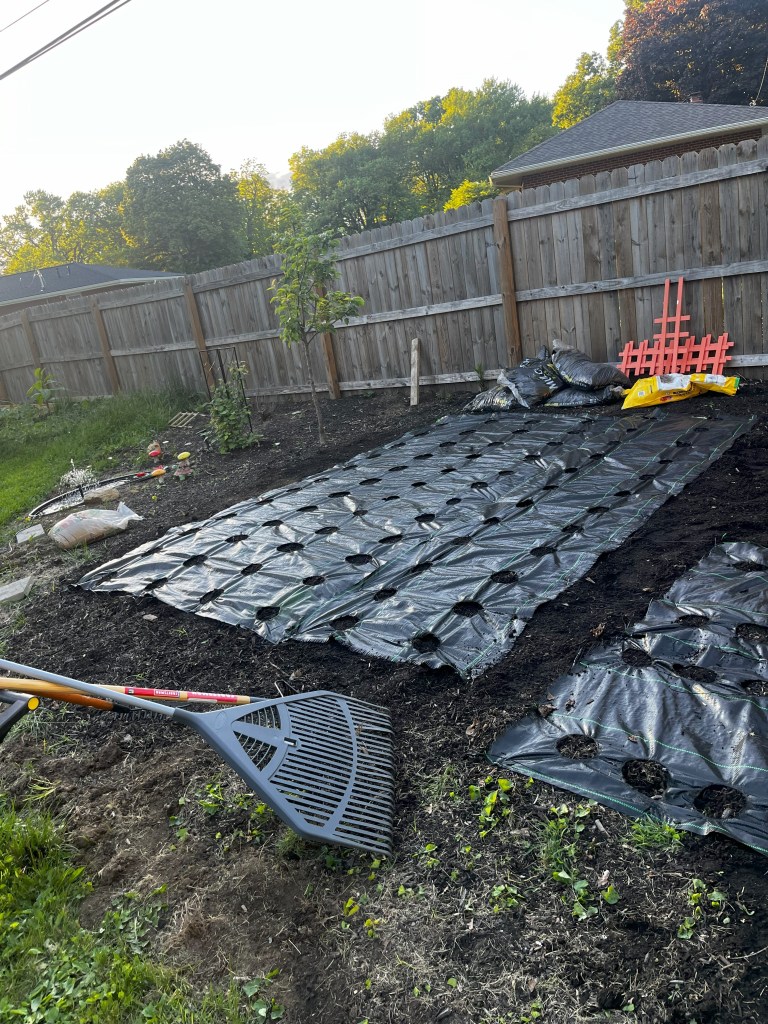
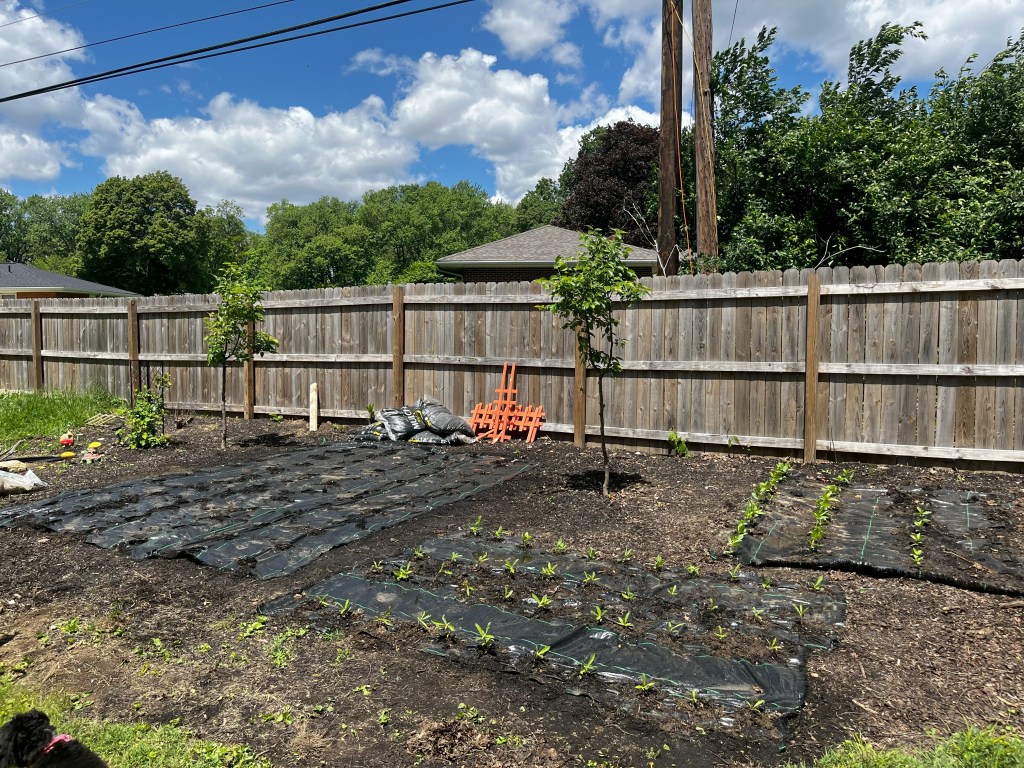
Once all of our mats were laid out and the holes were burnt, it was garden time! First we added about 2-3 bags of potting soil to each mat location and level the ground. Then we installed each mat utilizing the stakes/staples. This was definitely the easiest part of the whole process (and the most satisfying to see).
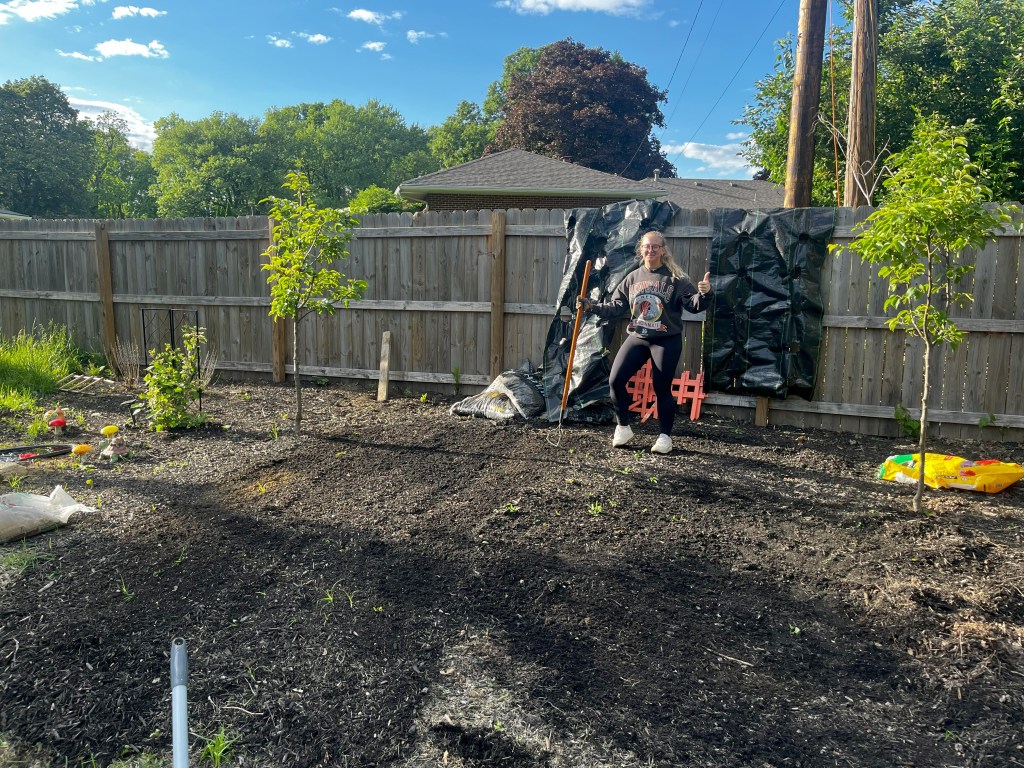

The weed mat made it incredibly easy to plant as well. With the layout (and the help of our family) we were able to get all the transplants and seeds into the ground in ~1 hour.

Leave a comment